Annual maintenance checklist for glamping sites
A glamping site keeps its tents in service with a regular routine. Check doors, zips, mesh and guys at every changeover; walk every unit for tension, roof debris and drainage weekly; inspect canvas, seams, hardware and decks monthly; and do a full inspection when opening and closing each season. Write everything down, keep a spares kit on site and replace small parts before they take a tent out of service.
6 min read · Updated
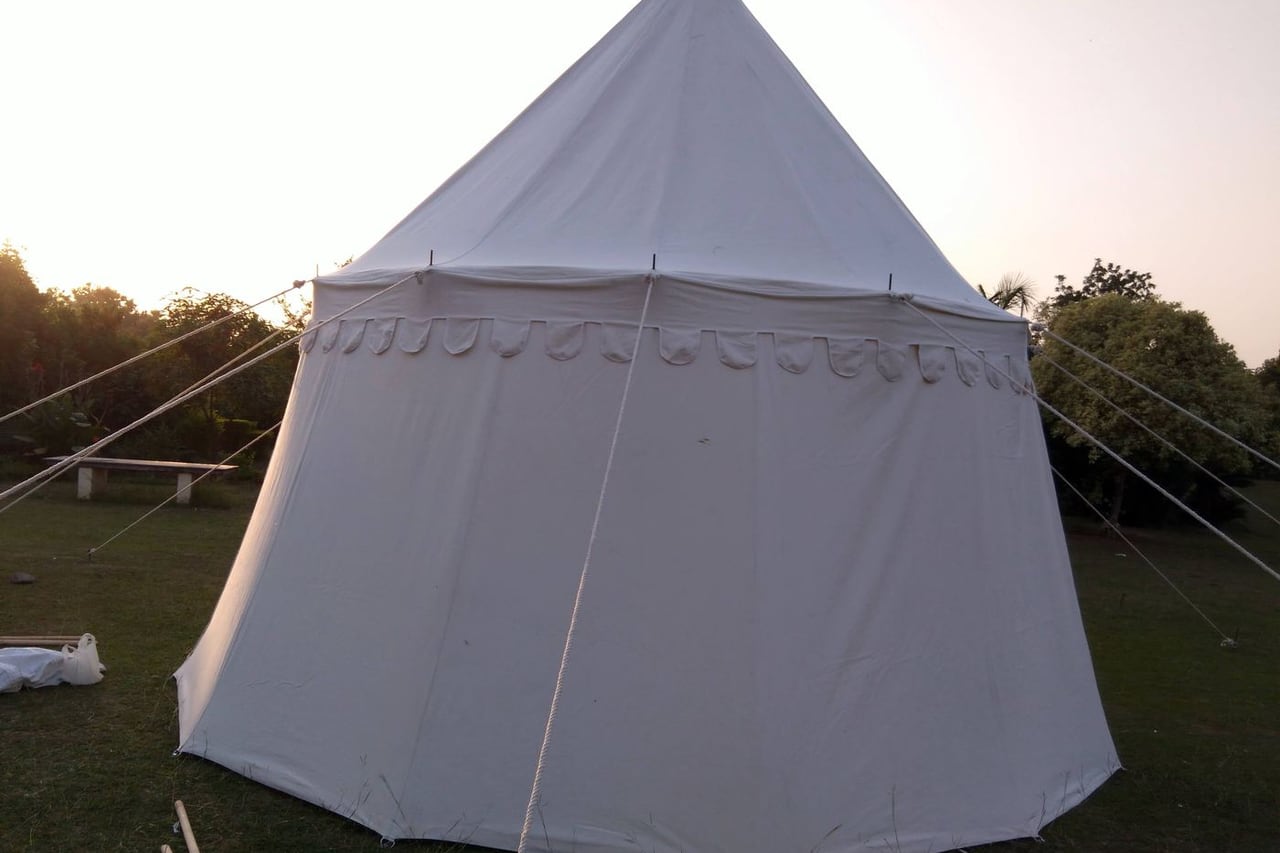
What this glamping maintenance checklist covers
The tasks below assume canvas guest tents standing for a season or more: bell tents, safari tents, Swiss cottages, yurts or tipis, from our glamping range or anyone else’s. Adjust the frequencies to your climate. A coastal site in the monsoon needs weekly checks of things a sheltered inland site can look at monthly.
Give each tent a log, on paper or in a shared spreadsheet, with the unit number, date, what was checked, what was found and what was done. That record is how you spot a guy point that keeps failing or a roof that loses its proofing faster than the others, and it is what an insurer or a buyer of the business will ask to see.
Tent checks at every guest changeover
Housekeeping can do these in a few minutes per unit, with anything they find passed to maintenance the same day.
- Run every zip, door and window. Note any that stick, split or catch.
- Look over mesh panels for tears and gaps.
- Check that no bed, furniture or luggage rack is touching the walls.
- Remove all food, open packets and wet towels, and leave vents open.
- Look up: water marks, sagging, light through the roof or mould spots on the inner face.
- Walk round the outside: guys tight, pegs seated, storm skirt clear of grass and soil.
Weekly and monthly tent checks
Weekly, and after every storm, maintenance walks the whole site. Re-tension guys and frame straps evenly, clear leaves and debris from roofs, valleys and eaves, check drainage around each deck and look for pest signs under platforms. On framed tents, look for pooling on the roof after rain, which means tension or fall needs correcting.
Monthly, give each unit a closer look: the canvas around eyelets, guy points and door frames, the seams along the roof and ridge, the condition of the groundsheet or floor tray, and frame fixings and anchor points. Test the roof with a flick of water to see whether it still beads. Look at deck boards and fixings, steps and handrails. Check electrical fittings visually and report anything damaged to your electrician; do not open them yourself.
Seasonal maintenance tasks for glamping tents
Season open and close carry the most work. Allow a dry spell for both, because canvas must not be packed or re-proofed wet.
| When | Task | Why |
|---|---|---|
| Before opening | Pitch, weather new tents, check every seam and zip | New cotton must swell shut before guests arrive |
| Before opening | Check frames, poles and anchors; replace bent members | Winter damage shows when a tent is loaded |
| Before opening | Check for nests in tubes, flaps and under decks | Wasps and rodents move into empty units |
| Before opening | Clean and re-proof roofs that no longer bead | Proofing wears fastest where the sun hits |
| Mid-season | Clean roofs and walls; check mesh and seals | Dirt and leaf litter hold moisture |
| Closing | Strike or winterise each unit | Unattended canvas suffers in snow and gales |
| Closing | Dry, label and store canvas, poles and groundsheets | Damp storage is the main cause of mould |
| Closing | Drain plumbing, isolate power, remove soft goods | Freezing and mould inside empty units |
| Off-season | Repairs, panel replacements, spares orders | Parts ordered in spring arrive late |
Opening a glamping site for the season
Start early enough to fix what you find. Pitch any struck tents on a dry day, unpack them fully and check for mould, rodent damage and storage creases. New tents must be weathered two or three times before anyone sleeps in them, as explained in why new canvas tents leak. Walk every frame for bent members, loose fixings and scratched galvanising, and every deck for movement and rot. Test zips, replace worn sliders and fit new guy ropes where they are glazed or frayed.
If roofs no longer bead water, clean and re-proof them now, before the season starts, following our guide to re-waterproofing canvas.
Closing a glamping site for the season
Decide tent by tent which structures to strike and which to leave standing, then work through the closing steps in winterising glamping tents. Strike in the last reliable dry weather. Clean, dry and store canvas loosely in labelled bags, with each unit’s poles and pegs kept together. Drain plumbing and isolate power. Remove mattresses, linens and cushions. Then, while the season is fresh in your mind, go through the logs and make the repair and spares list.
The annual tent inspection
Once a year, ideally at season close when a tent is struck, look at every unit as if you were deciding whether to buy it.
- Lay the canvas out and inspect every panel for thin spots, UV fading, rot and mould, pinching and pulling suspect areas.
- Check every seam along its full length, especially the roof, ridge, eaves and door frames.
- Inspect every eyelet, webbing loop and guy point for tearing or pulled stitching.
- Check poles and frame members for straightness, corrosion and wear at joints and feet.
- Inspect decks and platforms for rot, loose boards and fixings, and pests underneath.
- Record everything and decide what to repair, replace or re-proof before next season.
Spares, maintenance budget and canvas lifespan
Hold a spares kit that can fix any single failure on any one unit the same day: guy ropes and runners, pegs, zip sliders, a centre pole or main frame member, a groundsheet, a patch kit with matching treated tent canvas and a can of proofer. Our replacement parts guide covers what to stock.
Budget for maintenance as a line in the operating plan rather than a surprise. Canvas lifespan depends heavily on climate, exposure and care; a tent that is kept clean, taut, ventilated and stored dry lasts far longer than one that is not, which our guide to glamping tent lifespan discusses. When a skin reaches the end of its life, replacement canvas on the existing frame is usually much cheaper than a new structure. Contact us with your unit list and we can quote spares or replacement skins together.
Questions buyers ask
How often should glamping tents be inspected?
Quickly at every changeover, more thoroughly weekly and after storms, closely each month, and fully when opening and closing the season.
Who should do glamping tent maintenance?
Housekeeping can handle the changeover checks. A trained maintenance person should handle tension, repairs and frames, and qualified trades should handle electrics, gas and plumbing.
What is the most common cause of damage to glamping tents?
In our experience it is moisture: canvas stored damp, tents left closed in humid weather and water pooling on slack roofs. Wind damage from slack guys comes a close second.
Should I keep records of tent maintenance?
Yes. A dated log per unit shows recurring faults, supports warranty and insurance conversations and helps plan replacements.
When should a glamping tent’s canvas be replaced?
When the cloth tears easily, has rotted, or has been weakened by sun beyond what patches and panels can sensibly fix. Frames usually outlive several skins.