Glamping site layout planning: spacing, paths and services
A good glamping site layout starts from a survey of slope, drainage, sun, wind and views, then divides the land into arrival, guest, shared and back-of-house zones with separate routes for guests and staff. Tents are spaced and offset for privacy, turned towards the view and away from the worst weather, and linked by lit paths with services buried along them. Leave space and ducting for the keys you will add later.
6 min read · Updated
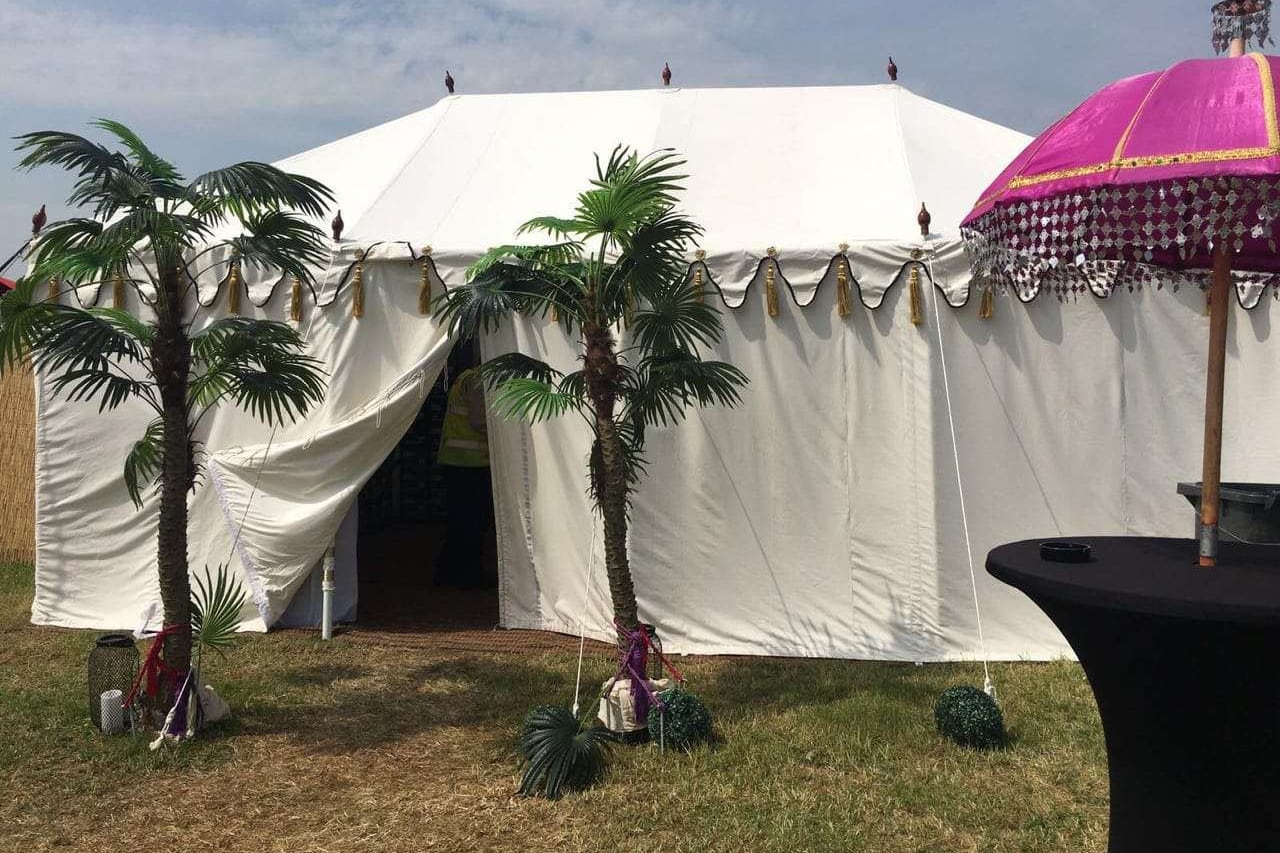
Survey the land before you count tents
Before anyone draws a tent on a plan, walk the site in different weather and at different times of day. Note where water runs and pools after rain, where the wind comes from, where the sun sets, which trees are healthy and which carry dead wood, and where noise arrives from roads or neighbours. A topographic survey is worth the money on anything larger than a handful of keys.
The number of tents comes out of that survey. Our guide on how many tents a glamping site needs covers the commercial side; the land decides how many of those keys can each have a good plot.
Parking, arrival and the walk to the tent
Decide early where cars stop. Most of the best sites keep vehicles at the arrival zone and bring guests to their tent on foot or by cart, with luggage following. That single decision keeps headlights and engine noise away from the tents and lets paths stay narrow and soft underfoot.
Think about what guests see first. A path that turns to reveal the view, or a first tent glimpsed through trees, sets expectations better than a row of units visible from the car park. Housekeeping and maintenance should reach each tent from behind, on a service path or loop, so carts and laundry bags are not wheeled past verandas in the middle of the afternoon.
How to zone a glamping site
Most successful sites divide into four zones. Guests should be able to move between the first three without ever seeing the fourth.
| Zone | What goes there | Placement |
|---|---|---|
| Arrival | Parking, drop-off, reception | At the edge, near the road; cars stop here |
| Shared | Dining tent, lounge, pool, shared bathrooms, yoga pavilion | Central and walkable from every key |
| Guest | Tents, verandas, private outdoor space | Best views and quietest ground |
| Back-of-house | Staff tents, laundry, stores, kitchen, plant, waste | Screened, with its own vehicle access |
How far apart to space glamping tents
Privacy is what guests are paying for, and canvas carries sound. A conversation at normal volume is audible through a tent wall at a distance that surprises people. As a rule of thumb, many operators aim for something like 15 to 30 metres between keys where land allows, and use planting, level changes and offset angles to make closer spacing feel generous. That figure is a comfort guide with no legal standing.
Separation distances for fire safety are a different matter and are set by your local fire authority or planning conditions. Ask early, because they can fix the minimum spacing for the whole site. Planning authorities may also limit density.
- Offset tents so no door or veranda looks directly at another.
- Point verandas at the view and backs at the paths.
- Allow the full guy-line zone around pole tents: a bell tent needs clear ground well beyond its wall.
- Group family keys together and keep couples’ keys in the quieter part of the site.
Orienting tents for sun, wind and slope
In hot climates, turn doors and large windows away from the afternoon sun and use trees on the west side. In cool climates, the reverse: let morning sun reach the veranda. Put the narrow end or the back of a framed tent towards the prevailing wind, and keep pole tents out of funnels between buildings or hills.
On sloping land, step the decks rather than levelling the whole hillside, and never put a tent in a hollow or at the foot of a slope where runoff gathers. Our guide to platforms and decks for glamping tents explains how to raise a tent clear of ground water.
Paths, emergency access and path lighting
Paths carry guests, luggage, housekeeping carts and, occasionally, an ambulance. Make the main routes wide enough for a cart and firm enough to wheel a suitcase on, and check what access your fire authority expects for emergency vehicles. At least some keys should be reachable by a step-free route; see our guide to designing accessible glamping tents.
Light paths at low level with shielded fittings that put light on the ground. Bright floodlights destroy the night sky guests came for and shine straight through canvas.
Service trenches and building in phases
Bury water, power and data in shared trenches alongside the paths so you only dig once and can find them again. Put wastewater treatment downhill from the tents and the water supply, at whatever distance local rules require. Keep generators, pumps and air-conditioning condensers out of earshot, or at least behind something solid.
If you plan to grow, lay spare ducts to the future plots now. It costs little at the start and saves cutting across finished paths. Our ten-tent resort package is built around a phased installation programme for this reason, with matched structures and back-of-house staff tents.
Dining, wellness and back-of-house tents
Canvas suits more than bedrooms. A dining tent or marquee can be the hub of the shared zone (see restaurant and dining tents for resorts), and an open-sided Yoga & Meditation Pavilion gives a wellness space without building one. Put the kitchen next to the dining space with its own delivery access, and the laundry and stores where vans can reach them without crossing guest paths. Behind the scenes, staff quarters and stores can be tented too, which we cover in staff accommodation tents. Send us your survey and a sketch and we will suggest a layout and tent mix.
Questions buyers ask
How far apart should glamping tents be?
For privacy, many operators aim for roughly 15 to 30 metres where land allows, with planting and offsets doing the rest. Fire separation distances are set locally and may be the deciding factor.
How many glamping tents can I fit per acre?
There is no fixed figure. Slope, access, privacy, fire separation and any planning limits decide it, and a crowded site sells for less per night.
Which way should a glamping tent face?
Towards the view, with the door and largest wall out of the hottest sun and the back or narrow end to the prevailing wind.
Where should staff accommodation go?
In a screened back-of-house zone with its own vehicle access, close enough to reach any tent quickly but out of guests’ sight and hearing.
Can I build a glamping site in phases?
Yes, and it is often sensible. Lay spare ducts and plan paths for the final layout so later keys connect without disturbing the first ones.
Do I need a professional to plan a glamping site?
For more than a few keys, a local architect or planning consultant with experience of rural sites is usually worth the fee. They know what your authority will accept and can turn a sketch into drawings a planning application needs.